|
|
|

Stuart's Mini Ramp: 1.2m (4ft) High 3.6m (12ft) Wide and 7.2m (23ft) Long including platforms.
$1789.50 NZ ($950 US)
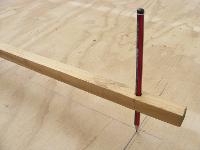
Jan 27:
I ordered all the materials today and there getting delivered tomorrow. I need to pick up the coping from the separate store later on this week. I've cleared the area (there was a bit of bush in the corner of my garden) and laid the pegs marking where the piles will go.
Jan 28:
All the materials arrived today, I cut the timber and moved the plywood down to my garden. The place where I brought the wood didn't have the plywood they said they did which I asked for as the bottom layers of the ramp surface so they upgraded it for free and the new plywood is very, very good!
Jan 29:
I cut the transitions today using a 6ft transition and I'm very pleased with how even they all came out. When I drew the lines I used a piece of wood instead of string to solve the problem of having to keep the pencil vertical (picture below). I cemented in the piles this afternoon so that I can begin construction on them tomorrow.
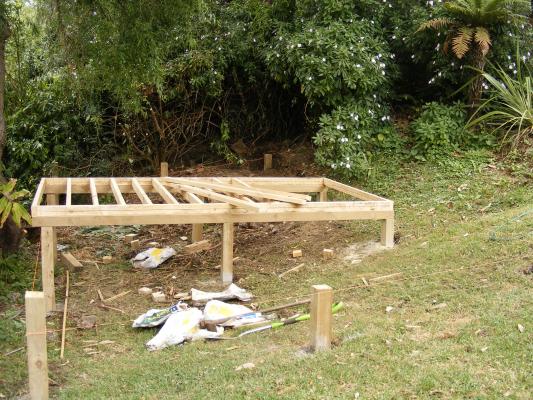
Jan 30:
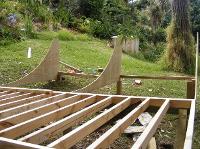
I've built the flat bottom frame.
Feb 1:
I put the side pieces and middle pieces of plywood in place (photo below) and have begun to put the cross pieces in place.
Feb 4:
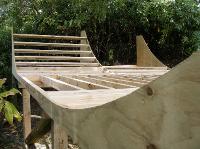
I've finished most of the crosspieces and added extra piles to help support the frame for strength and to stop it shaking.
Feb 7:
I have finished the transitions and put down the lower sheets of plywood.
Feb 10:
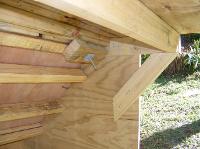
I made the platforms and have screwed holes in the coping so that I can bolt it from underneath the platforms.
Feb 16:
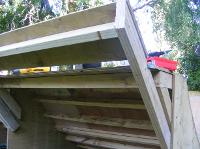
I have finished the first two layers of plywood.
Feb 18:
I have put down the massionite and put resin on tit to protect it from swelling up in the rain.
February 2009
New Zealand